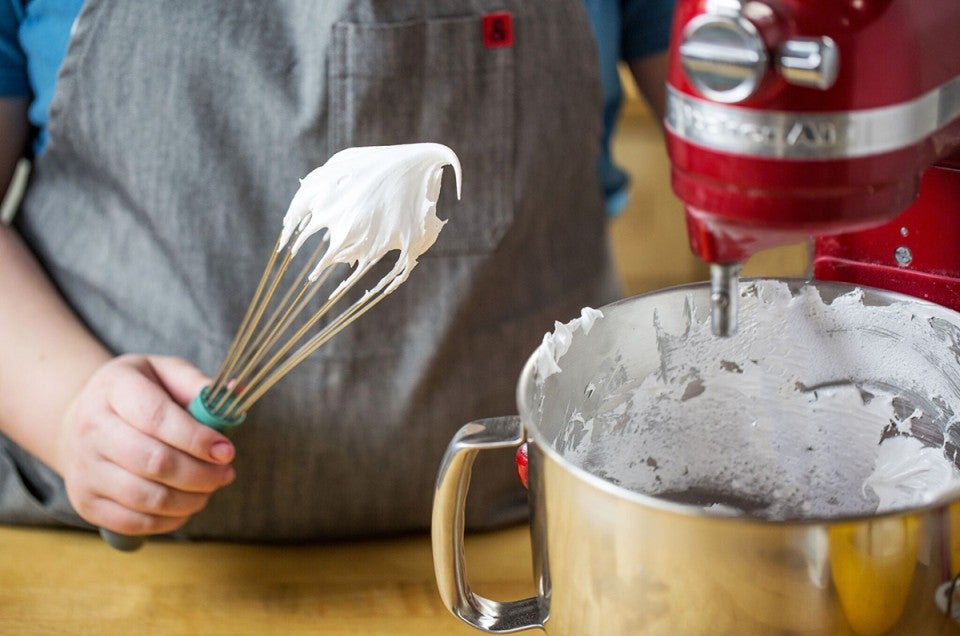


Egg whites and sugar seem innocent enough — they're just two little ingredients. But bakers? We know better. Whip those ingredients into a frenzy and they become a sweet, fluffy cloud known as meringue. This magical treat can be baked into a soft pie topping, a crunchy cookie, or something in the middle: pavlova. Alas, meringue has acquired a veil of hesitancy in many bakers; the list of "meringue rules" seems to grow every day. We've tested some of these no-no's to find just how many meringue rules can be bent.
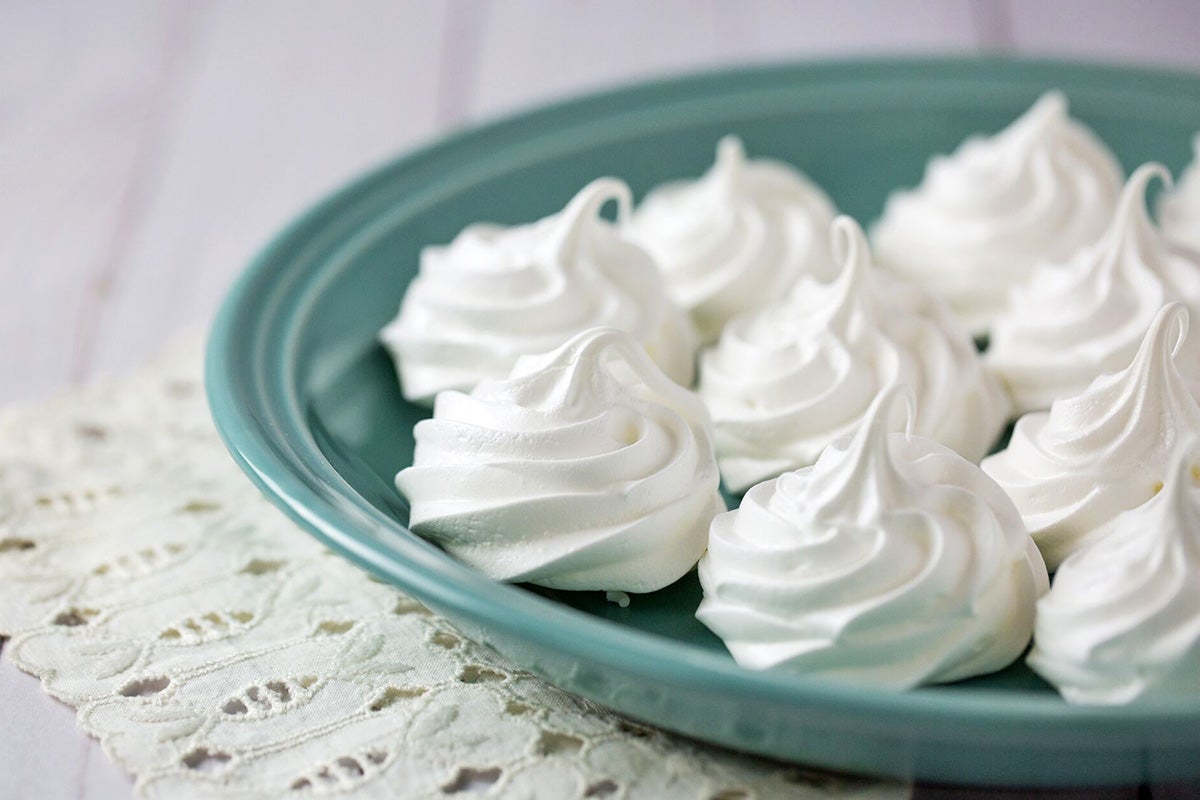
How exactly does a bowl of egg whites become a shiny cloud of sweetness? It's all about the proteins. Some proteins in egg whites repel water and others are attracted to it. (Chick magnet? Anyone?) The proteins in the whites will start to unravel, or "denature" as you begin whipping, and will form bonds with the water (naturally occurring in the egg whites) and the air created by the mixer.
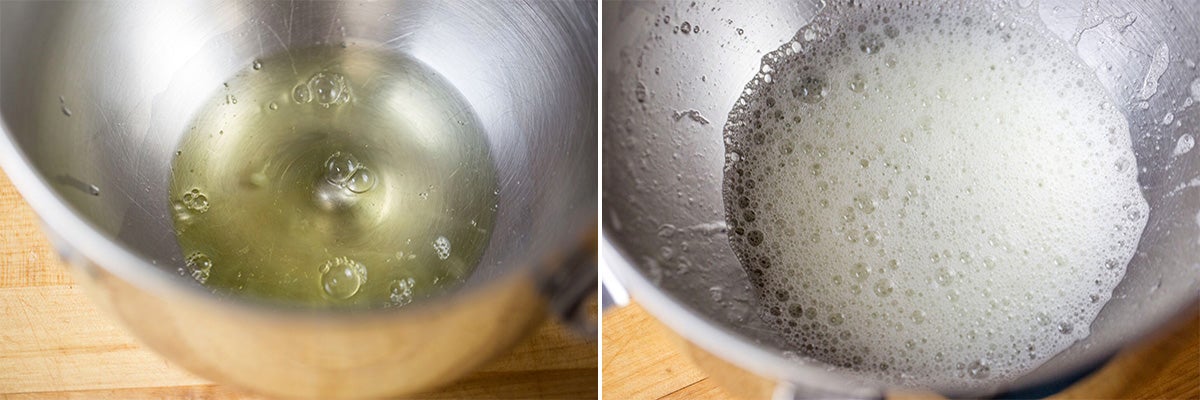
The result of these bonds is a whole lot of bubbles. The more your whisk attachment whips around the mixer, the more bubbles will be created. The meringue's volume will grow quickly.
If you let the mixer whip on and on, the foamy bubbles will begin to resemble shaving cream and eventually collapse.
To stabilize the mixture, an acidic ingredient is recommended. Adding a half teaspoon of cream of tartar to your 3 egg whites for a pavlova for example will coax our beautiful bubbles into grabbing onto each other, making them much less likely to collapse. Who knew a little acidity had the power to force protein friendships?
The addition of sugar coats the bubbles, preventing them from continuing to grow and grow, and potentially overwhipping and collapsing. You're left with voluminous, shiny, sweet meringue that's ready to be baked into whatever form you wish. Science!
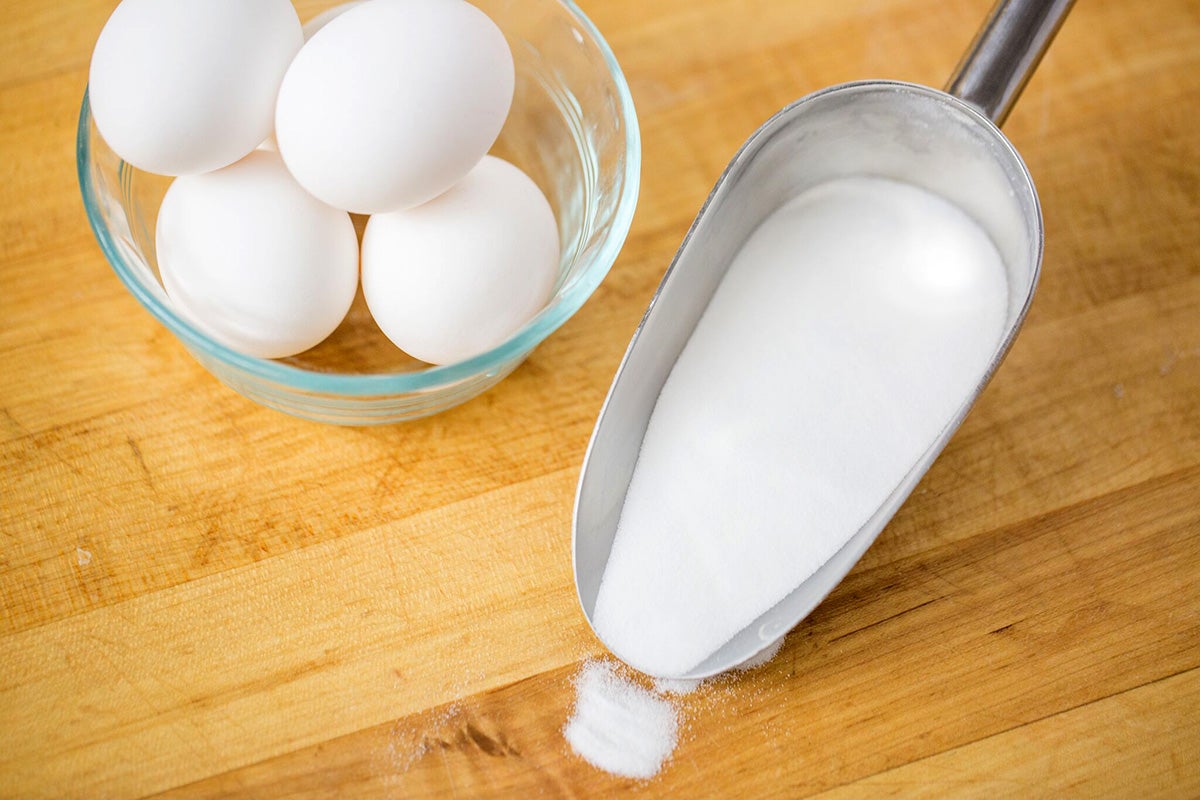
OK, the necessary ones are pretty obvious. You need sugar and egg whites plus air.
The air typically comes from an electric mixer; you can whisk meringue by hand if you'd like, but I'm a softy and prefer to not lose the use of my wrist for a week.
Sugar and egg whites are technically the only pantry ingredients you need, but there are a couple of others that will help your meringue be all that it can be.
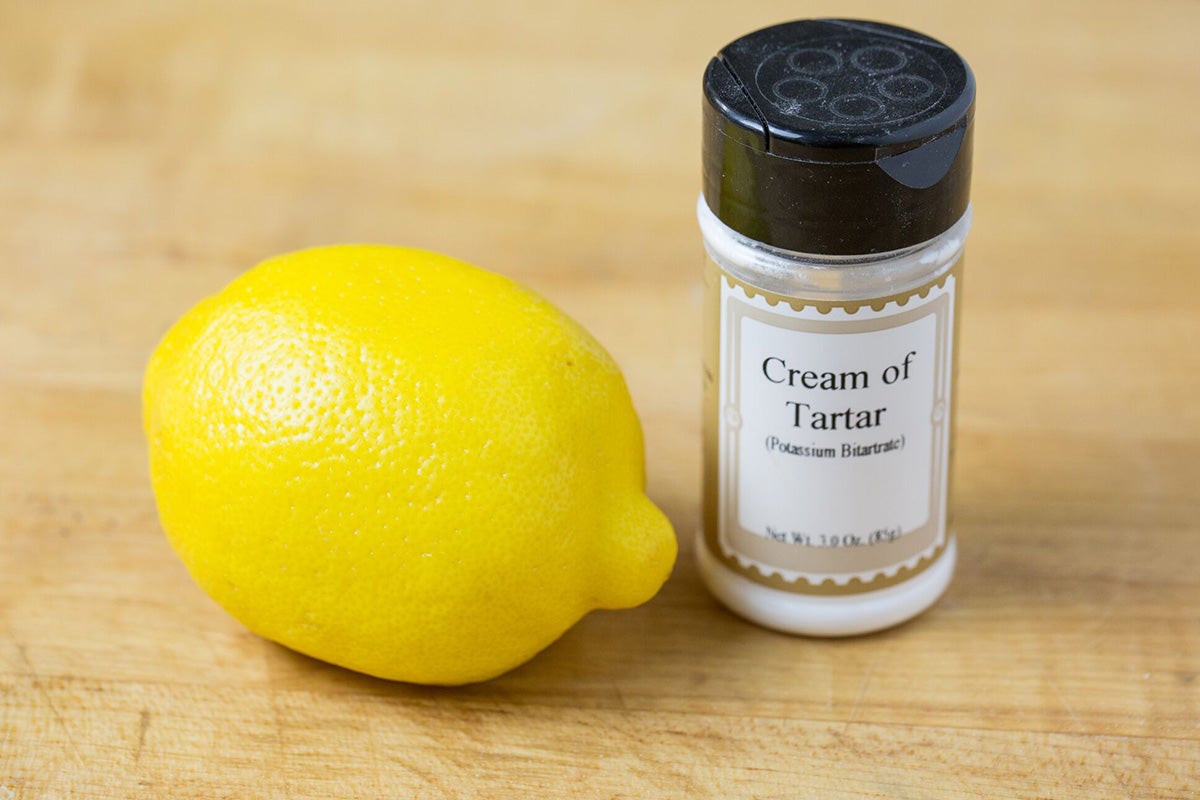
Whether it be vinegar, lemon juice, cream of tartar, or a combination, an acid will greatly improve the structure of meringue. Acid not only helps meringue whip up and aerate more quickly, it also keeps it stable. Without acid, meringue is more likely to collapse either during or after mixing.
Have you ever seen meringue that appears to be weeping or sweating, or leaves a puddle underneath? This happens because sugar is hygroscopic and will absorb any and all moisture possible.
Cornstarch, while added during mixing, doesn't show off its benefits until after the meringue is baked. A few teaspoons of cornstarch mixed with the sugar helps by soaking up any liquid left in your meringue, leaving it shiny, beautiful, and puddle-free. Starch is especially helpful in hot, humid weather when a meringue is most likely to absorb extra moisture.
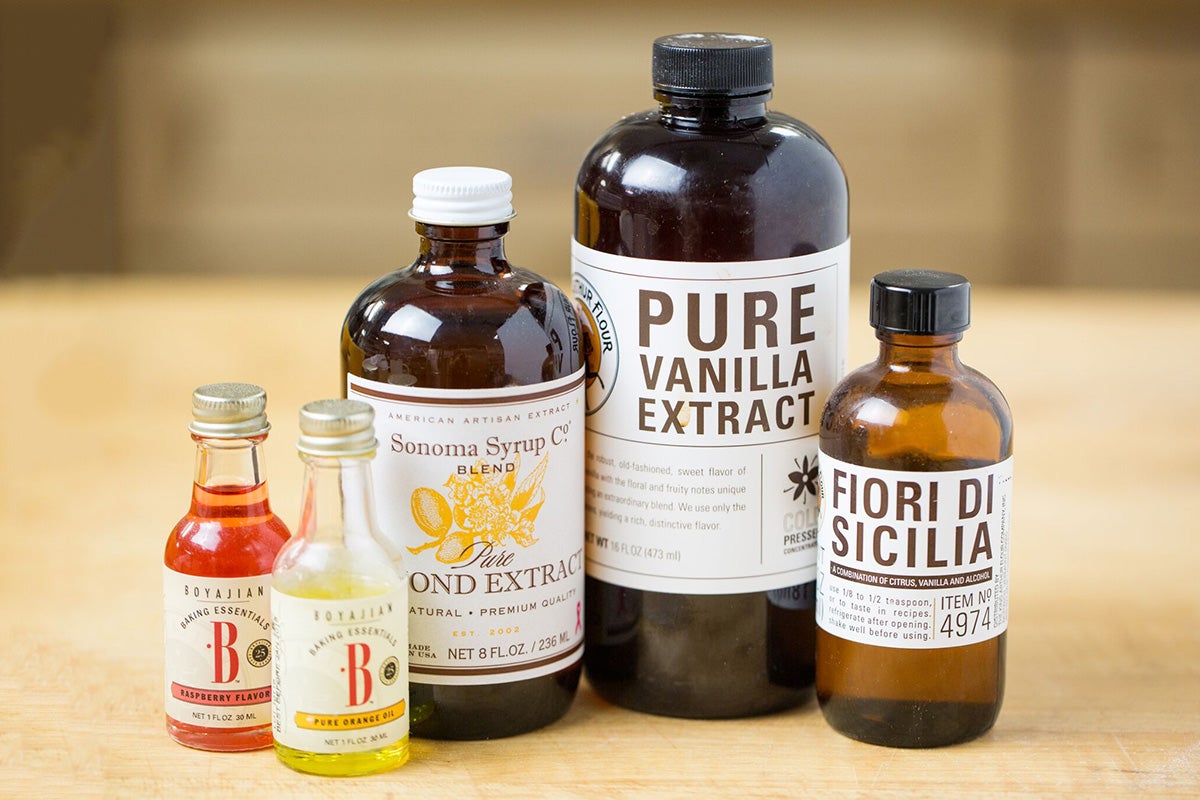
Extracts and flavors aren't necessary, but they're a pleasant addition. Be it a teaspoon of almond extract, a couple drops of lemon oil, or a drizzle of fragrant, speckled Pure Vanilla Plus, a little bit of added flavor will take simple meringue to the next level.
We all know that salt kicks up the flavor of anything, be it savory or sweet. Make your chosen flavors pop by including a pinch of salt with your egg whites.
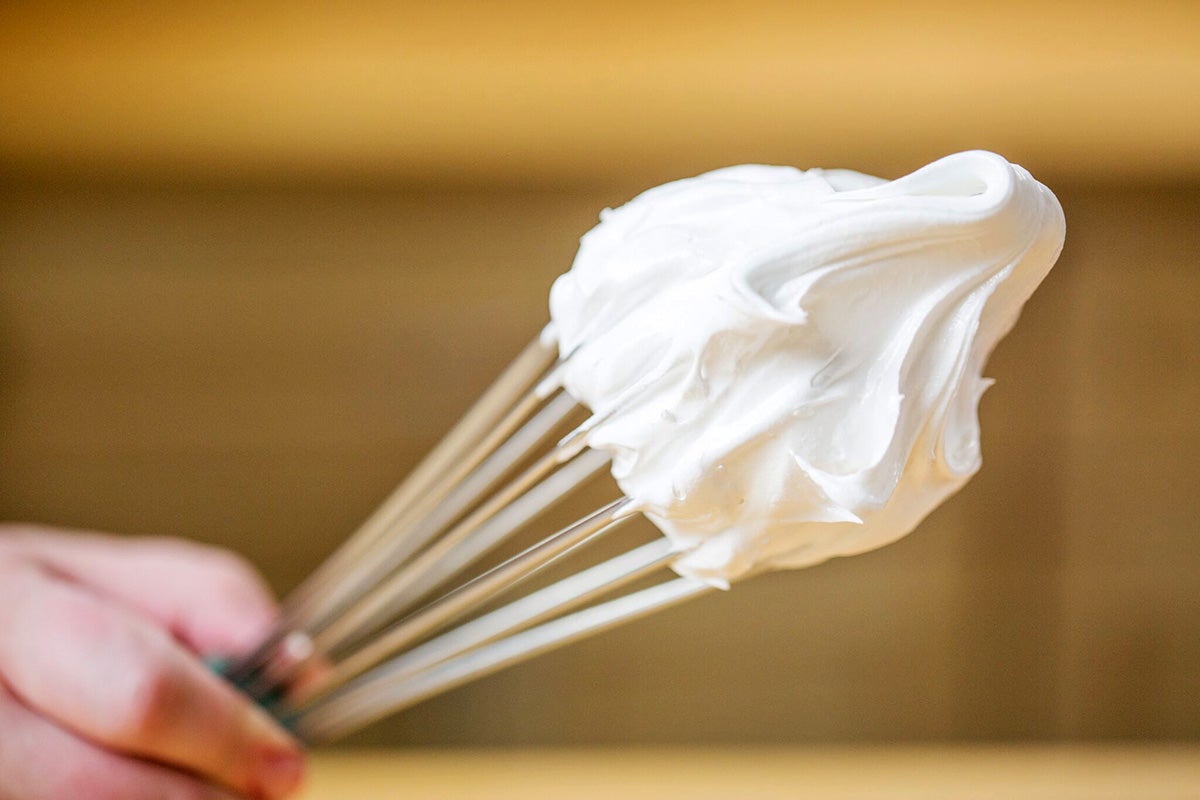
Now that we've determined what we need to create this pillow of sweet goodness, we can begin scrutinizing some of the dos and don'ts of meringue. Are these hard and fast rules or simply suggestions? Let's see!
This was the first rule I learned in culinary school. Yolks equal fat, and fat makes it pretty much impossible for the proteins in your egg whites to unravel and start forming bubbles. Fat will coat the proteins, preventing them from becoming friends. Rude.
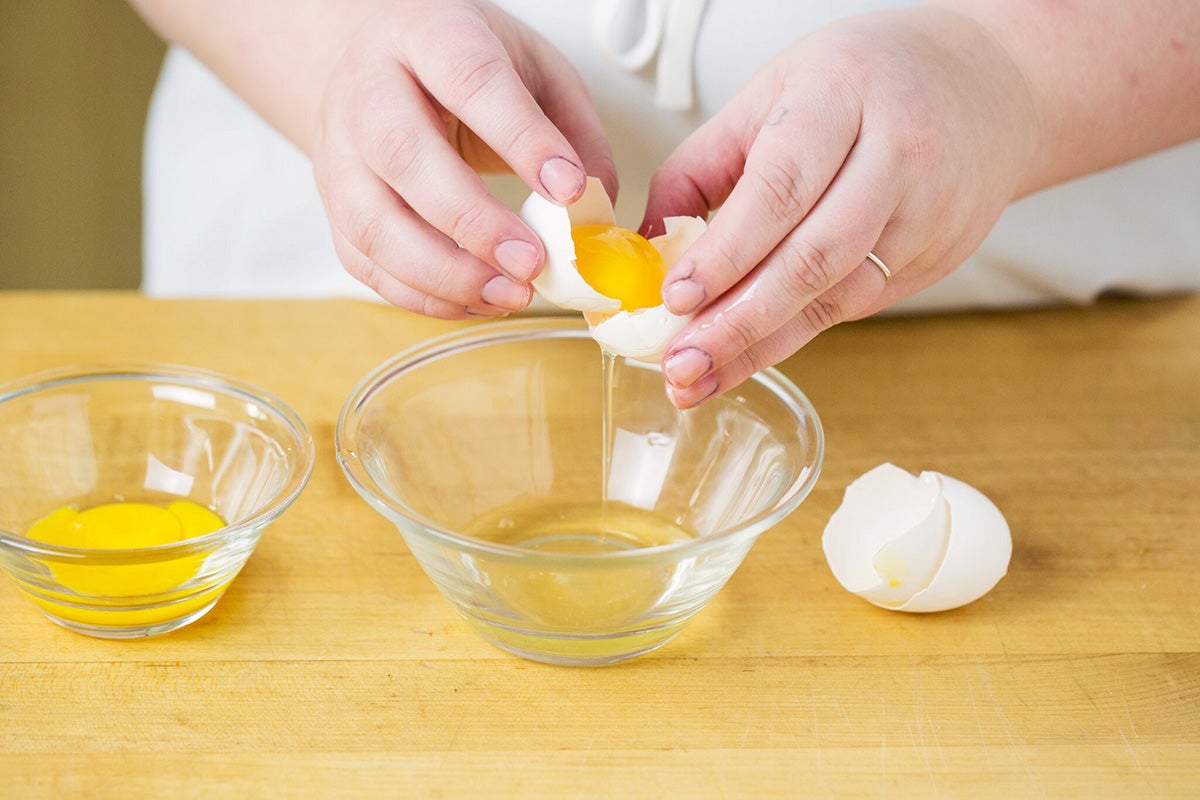
Abide — Fats are not friends in the world of meringue.
This is, again, an issue of fat. Plastic bowls and utensils tend to develop a thin coat of oil over time. Because it's very hard to thoroughly scrub off that coating, metal, glass, or ceramic bowls are preferred.
Abide — Unless your bowl is brand new or has never been used with fatty ingredients, stick with other materials. Save yourself the frustration.
This one is up for debate. Room temperature (68°F to 72°F) egg whites will whip up faster. Cold eggs are easier to separate. The solution? Separate your eggs while they're cold, placing the whites into a small container before adding them to the mixing bowl to come to room temp. It's an extra dish to wash, but if one of the yolks breaks and falls into the container, it's better to have to toss one egg white instead of the whole batch.

Cold egg whites straight from the fridge will whip up, though it takes a lot longer to see any real volume. However, if you're making a meringue-based buttercream, room-temperature egg whites are vital. When it comes time to add the soft butter to the meringue, a colder mixture could seize the butter and prevent it from becoming a smooth, cohesive buttercream.
Let slide — For meringue-based buttercreams such as Italian Buttercream, use room-temperature egg whites. For everything else, either cold or room temperature will work, but cold egg whites will take longer. How long? It took me 22 minutes to reach the stiff-peak stage using eggs right from the fridge.
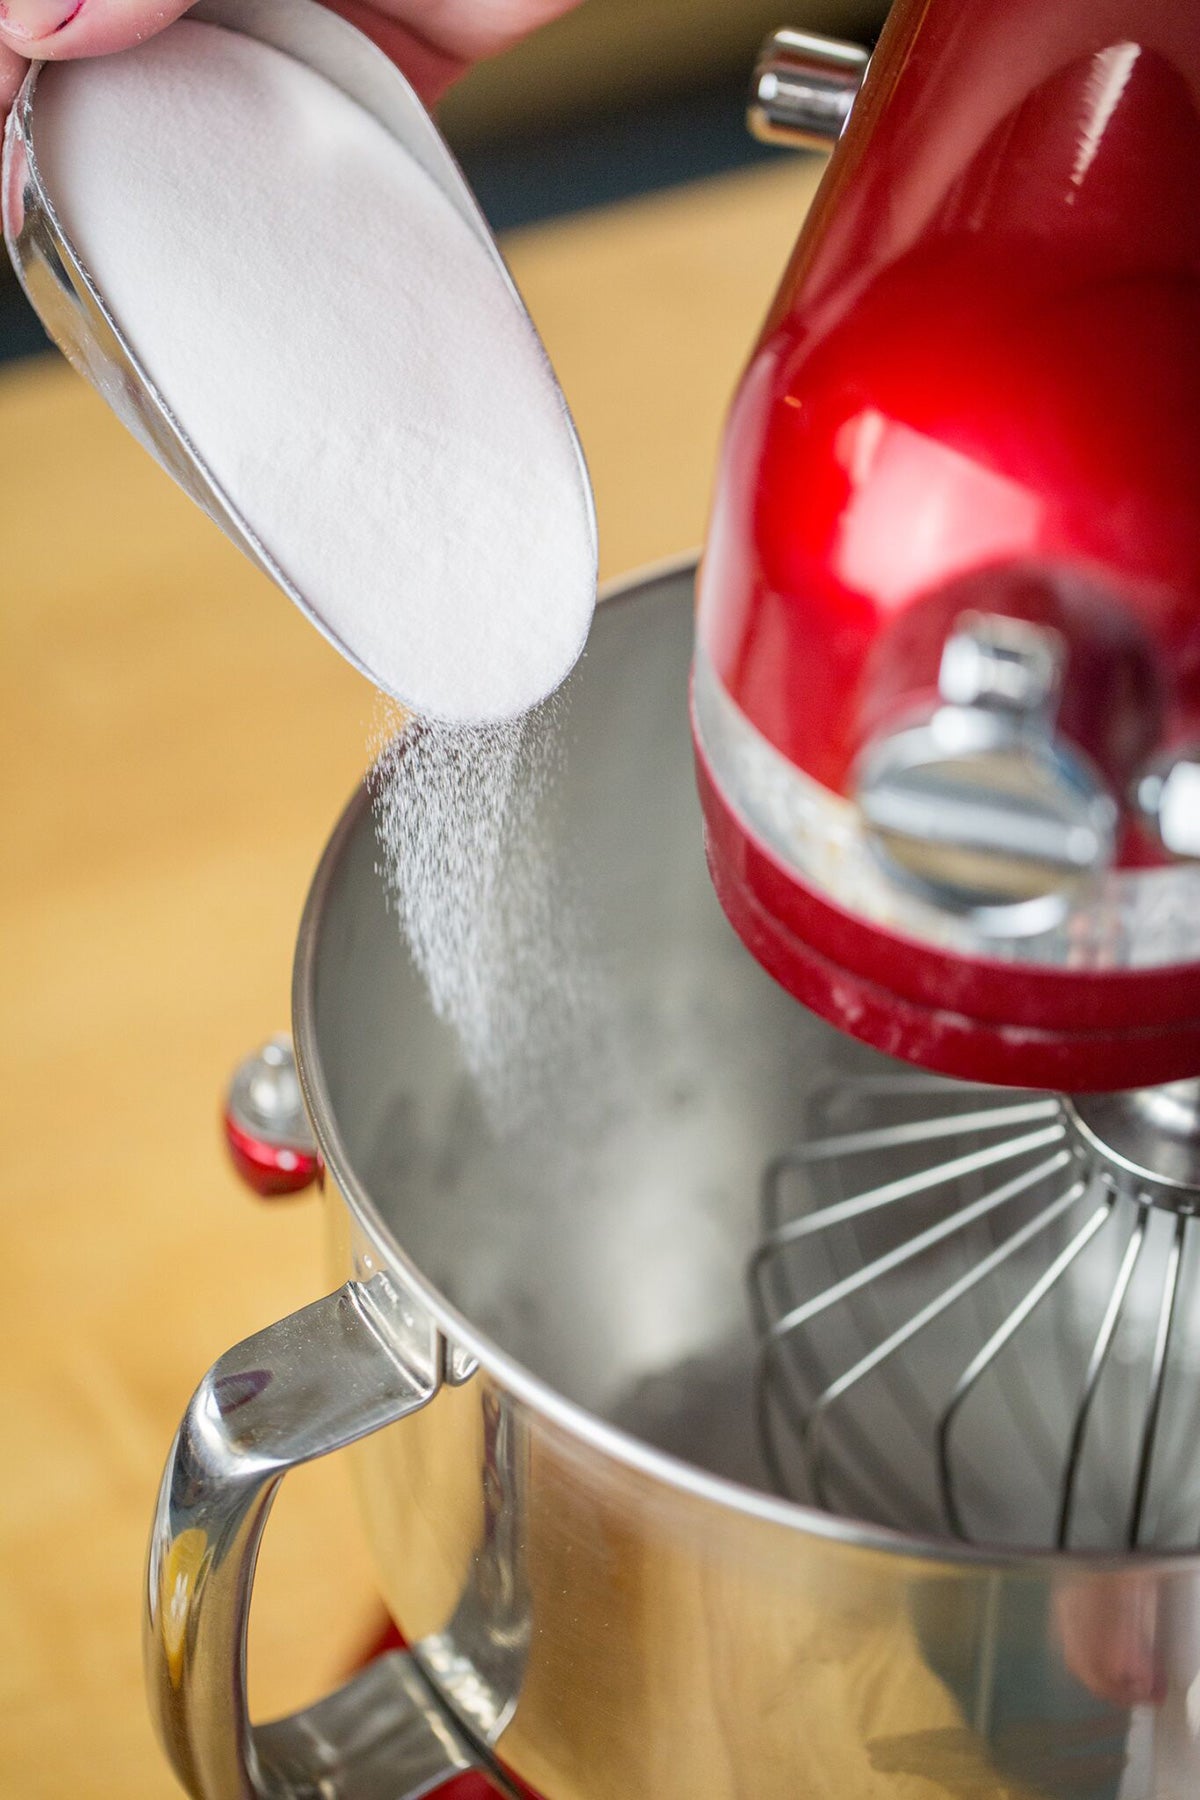
There are so many "right ways" out there to add sugar to a meringue. Honestly, I haven't found a way that didn't eventually work.
Abide — Adding the sugar slowly will save you a lot of time and potential frustration. However, if you accidentally add all the sugar at once (been there) it's OK; it'll whip up in due time.
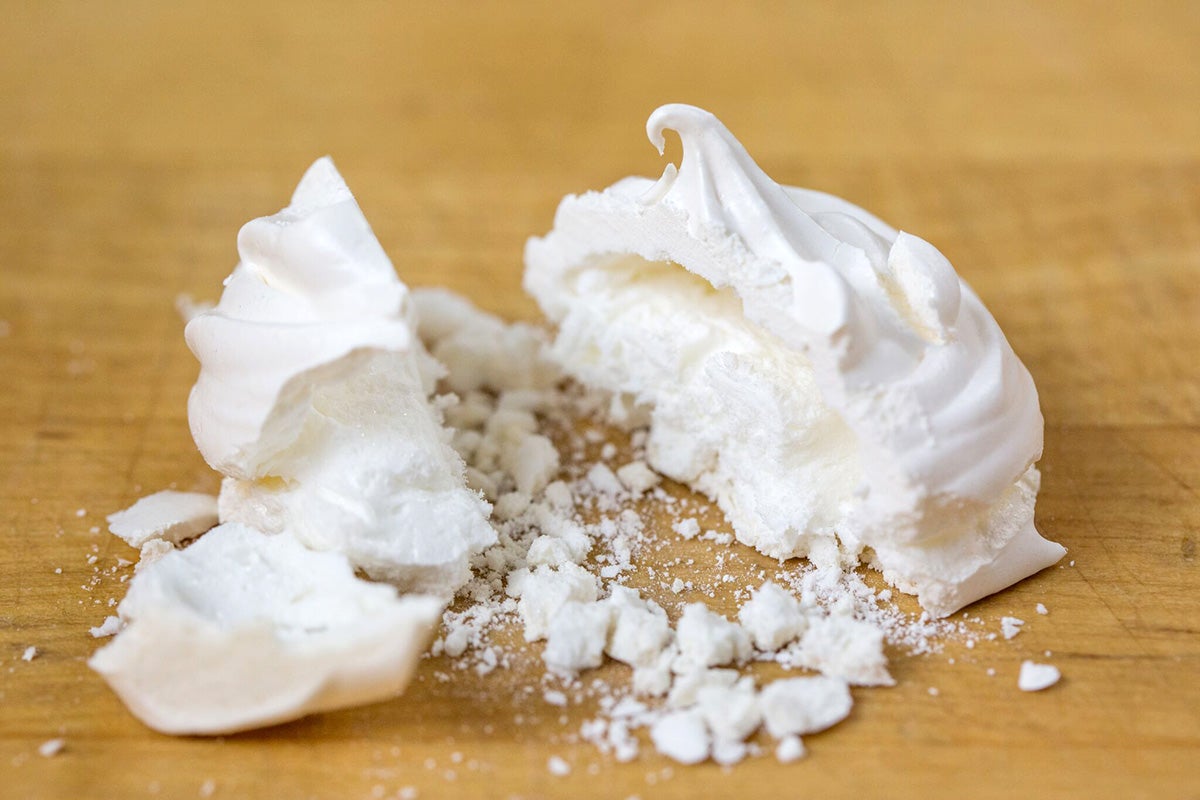
Most meringues bake between 200°F and 250°F for about 2 hours. They often include a rest in the oven after it's been turned off to continue slowly baking as the oven cools.
Rather than caramelizing and getting toasty brown like most baked goods, meringues slowly dry out in a low oven without gaining much or any color. Because of this, I always bake three or four extras to break open and test for doneness.
I prefer a very dry meringue that's crisp all the way through. If you prefer a chewier center, break open your first tester 20 minutes or so before the end of the baking time.
Higher temperatures can cause meringues to crack and brown. A longer bake at a low temperature leaves you with a smooth, shiny, crisp meringue that blissfully melts in your mouth.
Abide — Low and slow is the way to go.
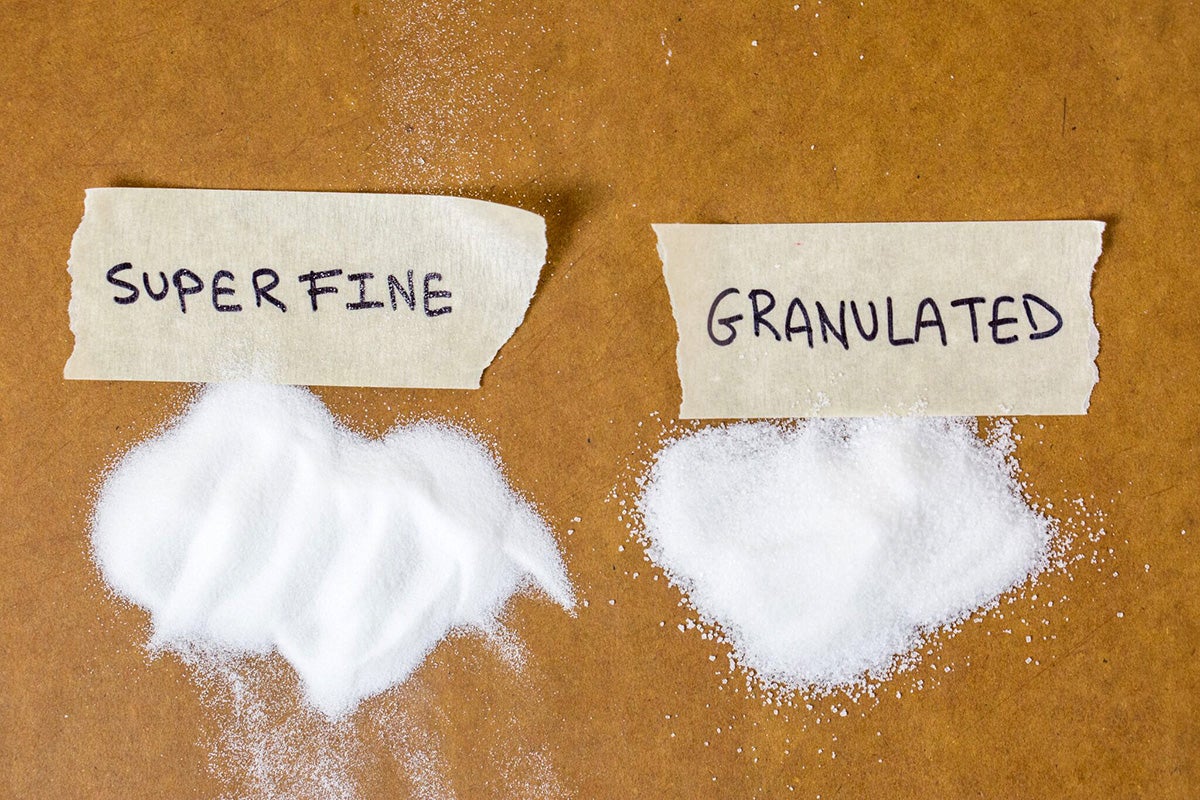
We prefer to use Baker's Special Sugar when making meringue because the tiny granules dissolve beautifully in egg whites. Superfine sugar such as this will leave you with a smooth, shiny meringue. Regular granulated sugar doesn't dissolve as well and can leave a rough, bumpy appearance. These bumps don't go away with baking. The meringue will work, but it won't be as pretty.
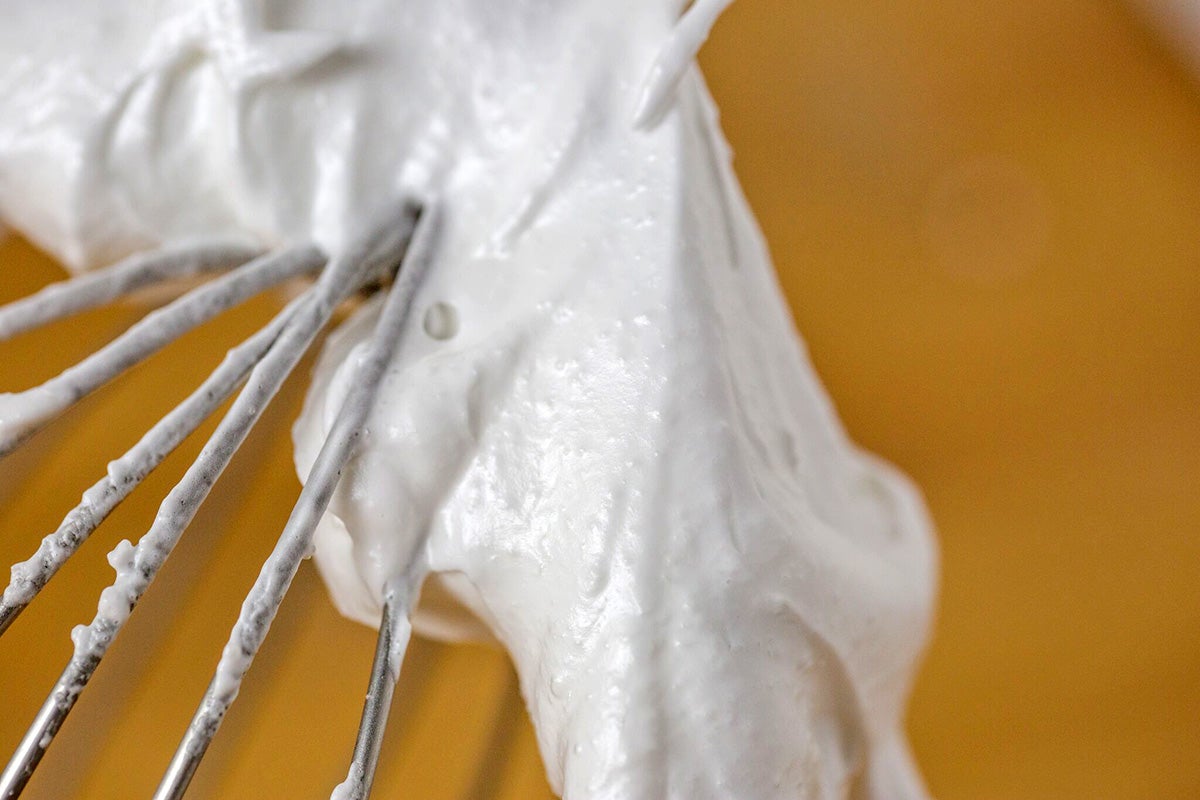
Let slide — Either will work, but superfine sugar will have a nicer appearance. No access to superfine sugar? Make your own by giving granulated sugar a quick buzz in the food processor.
Remember how sugar absorbs all of the moisture it possibly can? This is why baking meringues in high humidity can be problematic. It takes a lot longer for them to dry out in the oven. It's doable, but be prepared to have the oven in use for several hours until they've become crisp and set.
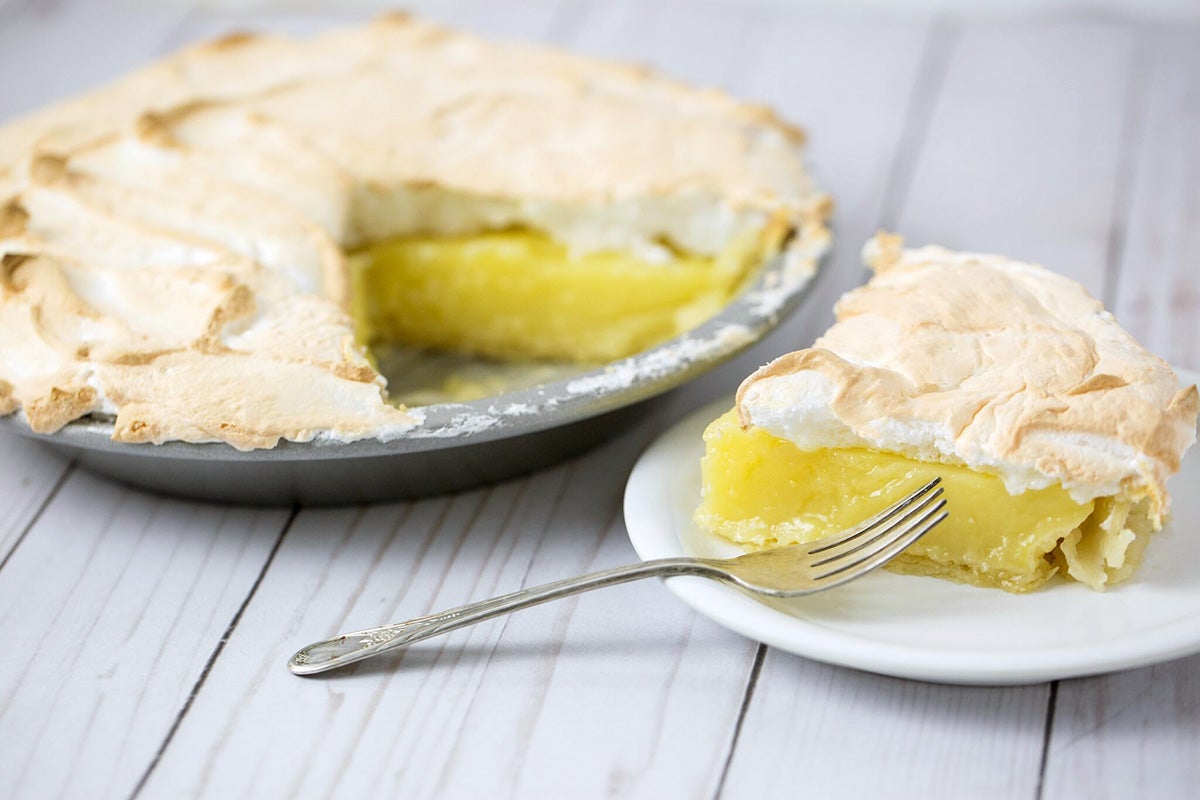
If you're making soft meringue for a pie topping, say, for our Classic Lemon Meringue Pie, add a teaspoon of cornstarch to your sugar. It'll aid in absorbing any extra water the sugar will attract.
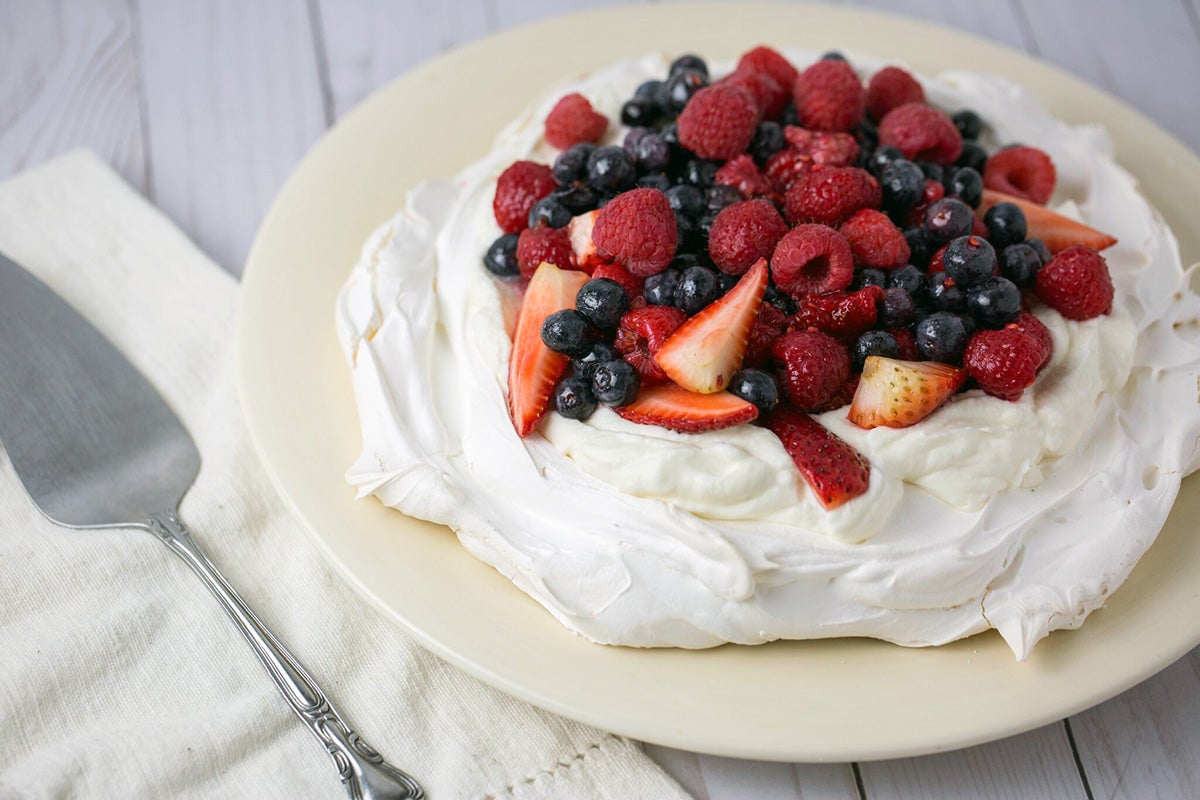
Let slide — When the peaches or raspberries are ripe and you want to bake a pavlova, don't let the humidity stop you. Just start earlier in the day so the meringue has plenty of time to slowly dry out in a low oven.
Abide — Avoid yolks; use a non-plastic bowl; add sugar slowly, and bake low and slow.
Let slide — Don't pull your hair out if your eggs are cold, you don't have superfine sugar, or it's a humid day. They're not ideal circumstances when making meringue, but they shouldn't stop you from baking and enjoying a light, sweet treat when you want one.
The most important rule? Have fun! Watching meringue whip up is like staring at a magic trick that you can eat. With such a light flavor, it can be accompanied by whatever ingredients you have on hand. Blueberries about to be too soft? Pavlova. That remaining teaspoon of espresso powder? Espresso Meringues. The last few splashes of buttermilk in the carton? Lemon Meringue Cupcakes to the rescue.
While you're on a sugary egg white kick, check out our other meringue resources including recipes and a video.
What's your favorite way to enjoy meringue, and what's a baking rule you've always wanted to debunk? Let us know in the comments below!
Thank you to Anne Mientka for taking the photos for this post.