-
Preheat the oven to 350°F. Line a 13" x 18" rimmed baking sheet (half-sheet pan) with parchment and lightly grease the parchment.
-
To make the bars: Melt the butter and whisk in the brown sugar. Add the salt and vanilla, stirring until smooth.
-
If the mixture is uncomfortably hot to the touch, allow it to cool a bit before adding the eggs all at once. Whisk until smooth.
-
Stir in the flour and baking powder.
-
By this time the batter should be no more than lukewarm; stir in the chips. Use a spatula to spread the batter in the prepared pan, making a thin, even layer all the way to the edges.
-
Bake the bars for 15 to 18 minutes, until they’re set in the middle and just starting to turn golden brown. Remove from the oven and cool completely before assembling the sandwiches.
-
To make the ice cream: In a stand mixer with the whisk attachment, beat the heavy cream, condensed milk, vanilla, and salt on medium speed until medium peaks form.
-
If you want to make chocolate ice cream, whisk in the melted chocolate.
-
To assemble: Remove the bar from the baking sheet and cut it in half vertically to make two pieces approximately 8 1/2" x 12" each.
-
Line a 9" x 13" pan with plastic wrap, allowing it to generously overhang on all sides. Place one of the bars in the pan, bottom side up.
-
Top the bar with the whipped, unfrozen ice cream. Spread it to the edges, leaving about 1/2" on every side bare.
-
Place the other bar on top of the ice cream bottom side down, gently pressing down to evenly spread the ice cream to the edges. It’s OK if some of the ice cream oozes out the sides.
-
Using the overhanging wrap, completely cover and tightly wrap the assembled sandwich.
-
Place the pan in the freezer overnight. The filling takes longer than a few hours to freeze solid, so it’s important to give the sandwich plenty of time to freeze.
-
To serve: Remove the sandwich from the freezer. Unwrap and place it on a cutting board.
-
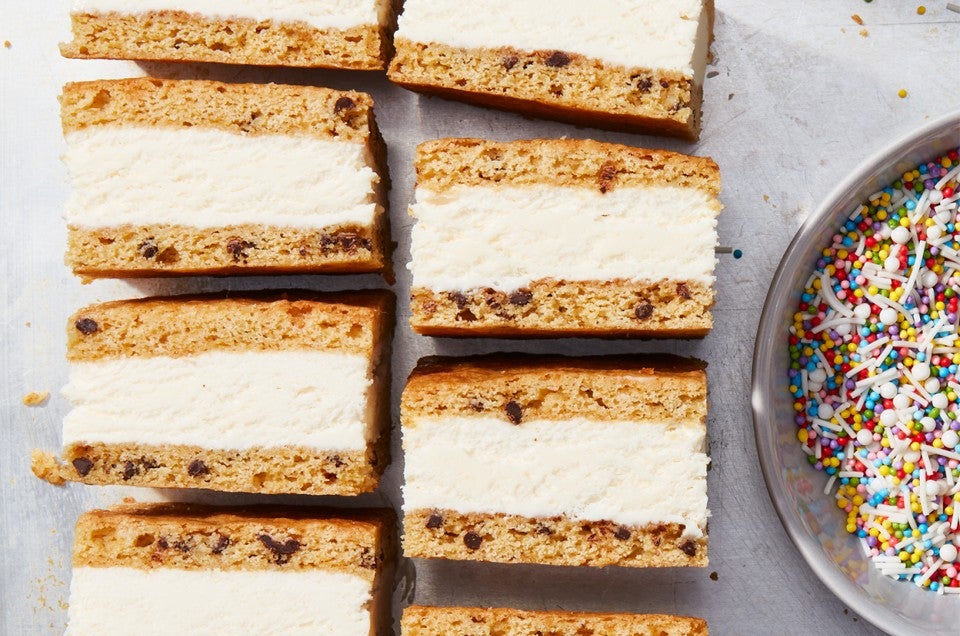
For the neatest look, trim the edges off the sandwich (baker's treat!). Cut into bars that are the size and shape of your choice.
-
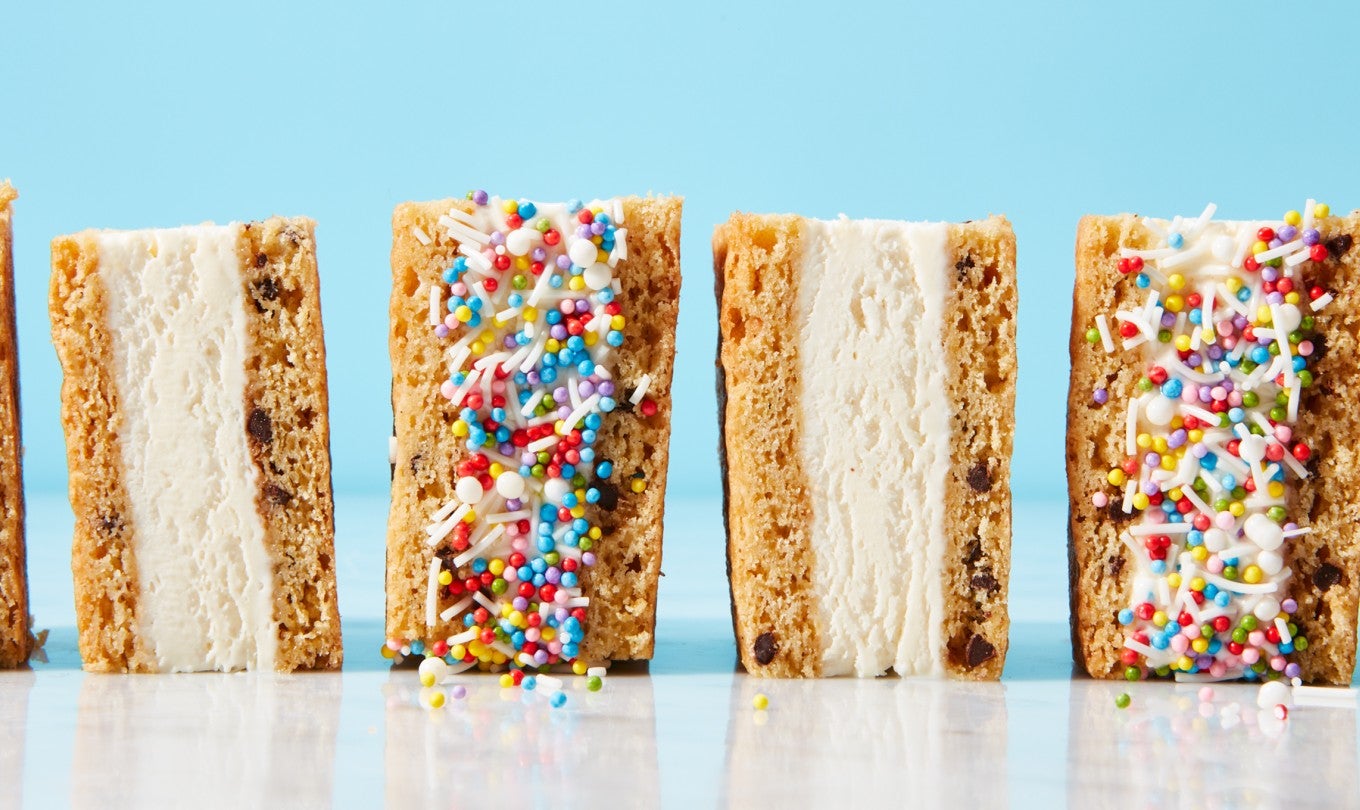
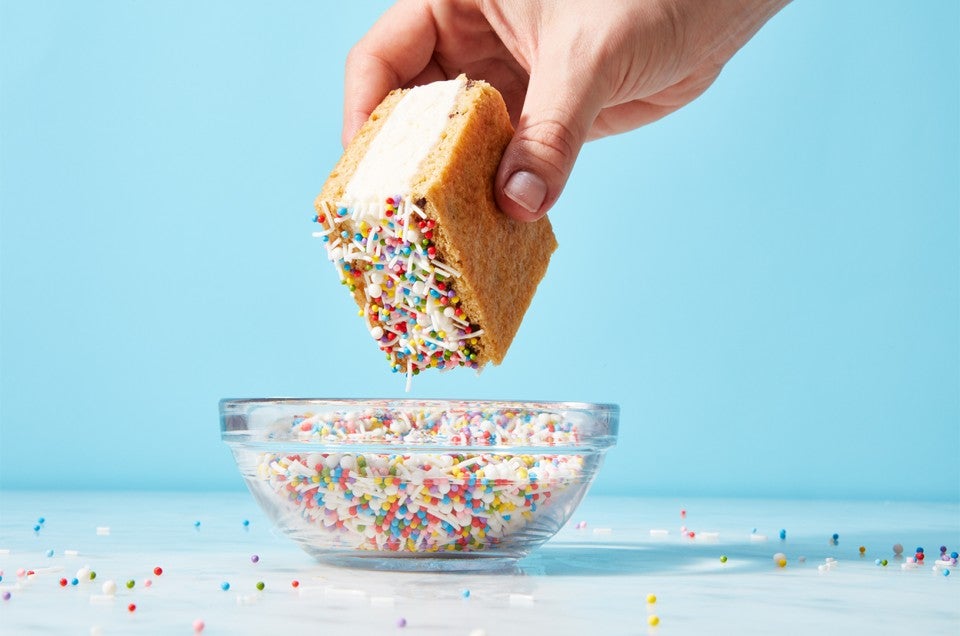
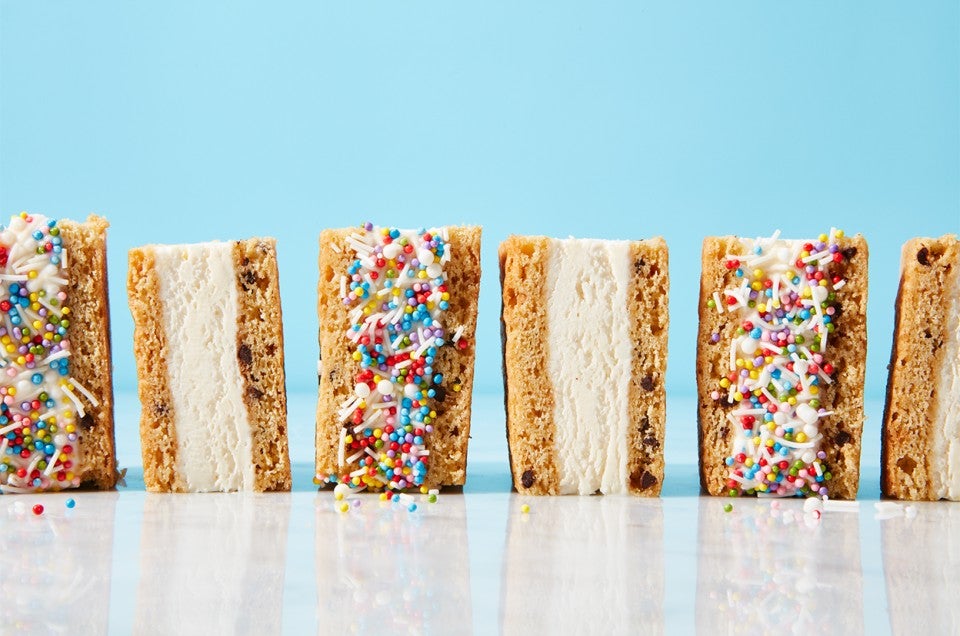
Dip the edges of each bar into the topping of your choice; we like sparkling sugar, cocoa nibs, or sprinkles. Serve immediately.
-
Storage information: Store the cut bars, individually wrapped, in the freezer for up to three months.
